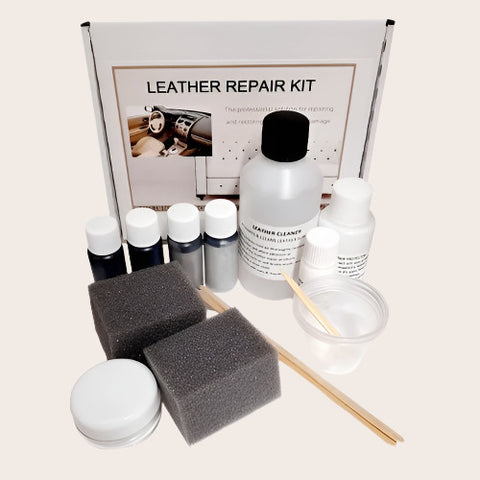
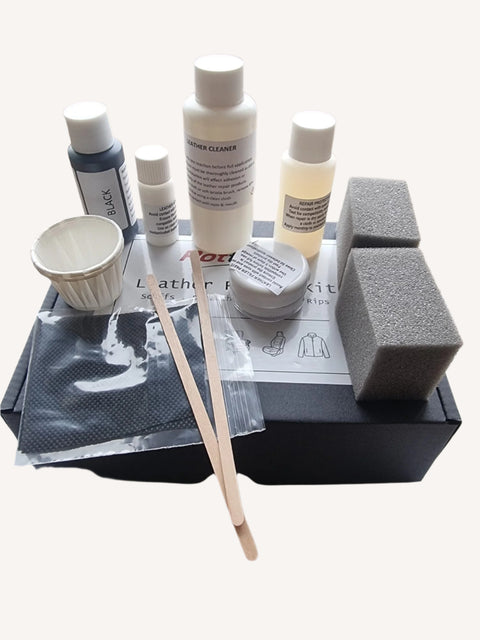
*Also included in product pack.
Please read all the information before proceeding to use the the Leather Repair Kit.
BEFORE YOU START
The Leather Repair Kit is for the following leather types:
- Standard plain colored leather (pigmented) with a satin sheen surface.
Test products for any adverse reactions in an inconspicuous area 24hrs before full application.
A hairdryer is required to carry out the repair procedures.
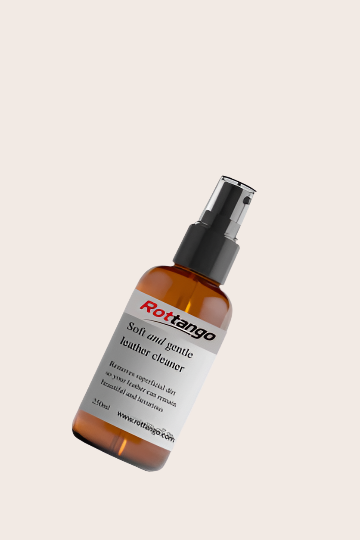
1. Thoroughly clean the area to be repaired using the cleaning product provided. If the area is not cleaned thoroughly, it will affect adhesion of the leather repair products. Make sure the area is dry before proceeding.
2. Your repair kit will contain various pigment colors. Choose a color similar to the color of your leather and place into the mixing pot provided (shake each color thoroughly before opening the bottle) then intermix the other colors to darken, lighten, or enhance your color using the stirrer until you achieve a good color match. A good repair is dependent on the color being as accurate as possible.
3. The color should tested on the area to ensure a good color match; the color will dry differently from wet. The pigment color should be removed immediately using the leather cleaner if you're not happy with the color match.
4. Do not apply over large areas. The Leather Repair Kit is only intended for repairing smaller individual areas up to 4'' sq.. or car bolsters. Your kit contains a repair protector. Apply 3 applications using a cloth when the repair is completed and dry.
SCUFFS & SCRATCHES
- To apply the color, use your pointed wooden applicator stick by taking up a small amount on the end of the tip and applying it on to the damaged area only. Now press down the color with the flat side of your fingernail using reasonable pressure. This will adhere the damage back to the leather surface.
- Use your hairdryer to dry the color, approximately 10 inches away on a medium heat for approximately 1 minute. Now press down the color again with the flat side of your fingernail using reasonable pressure.
- Build the color gradually for a more professional result, repeating this step until the damage is re-colored and blends in to your leather surface.
CAT PLUCKS
- Carefully trim off any stringy leather flesh protruding from your leather surface with a small pair of nail scissors.
- If a triangular shaped flap remains, place a small amount of repair pigment under the flap, and press this down with the flat of your finger nail whilst applying a gentle heat from a hairdryer.
- Any color which may be missing from the leather surface can be replaced by applying small amounts of the repair pigment color on the end of the wooden pick to the damaged area, then dry using hairdryer.
WORN/CRACKED LEATHER
Apply the color to the surface using the sponge to feed the color into the faded and worn area. 2-3 applications may be necessary. Dry the color between applications using a hairdryer. Your repair color will have to be very accurate for this process on smaller areas.
TO COVER STAINS OR PEN INK (Small areas only)
- Apply using the sponge. Lightly dab the color over the stain, dry with a hairdryer approximately 10inches away on a gentle heat.
- Repeat this procedure until the stain has almost disappeared.
- Finally apply the color again but graduate the color out over a slightly wider area to blend the repair into the leather.
SUPERFICIAL LEATHER SKIN GRAIN DAMAGE
Certain types of damage can slightly remove the skin grain. To replicate the skin grain:
- Apply random small spots to color until it replicates a grain pattern. Dry with hairdryer then apply light pressure with the flat of your fingernail when the area has cooled. Then massage and crease the area gently - This will produce a natural surface.
REPAIRING TEARS/RIPS/HOLES
- To repair damage that has exposed the internal padding, cut out the sub patch from the fabric patch provided approximately 1cm larger than the damaged area. Feed the sub patch through the rip or hole using the wooden spatula so it sits flat and smooth on top of the inner padding and under the leather panel.
- Apply the glue to the underside of the damage and onto the sub patch, fixing 2 areas together. Apply gentle pressure using your fingers, and using a gentle heat from a hairdryer to speed up the fixing process. Leave for 1 hour.
- The scar or gap between the leather edges can now be filled with the white leather filler. Apply this using the wood spatula into the remaining damage. Scrape off the excess using the edge of the spatula. Importantly, remove any leather filler residue around the undamaged edges using a cotton bud soaked in leather cleaner. Speed up the drying process by using a hairdryer. This process may need repeating for deeper scars as a certain amount of shrinkage occurs during the drying process. Leave for 1-2 hours or overnight to cure fully.
- If you have overfilled the damage, the filler can be sanded back using a very fine grade sandpaper. The repair can now be re-colored by applying the leather repair pigment by sponge of fined tipped applicator.
No warranty is expressed or implied as the conditions of use are beyond our control. Test products for any adverse reactions in an inconspicuous area 24 hours before full application.